
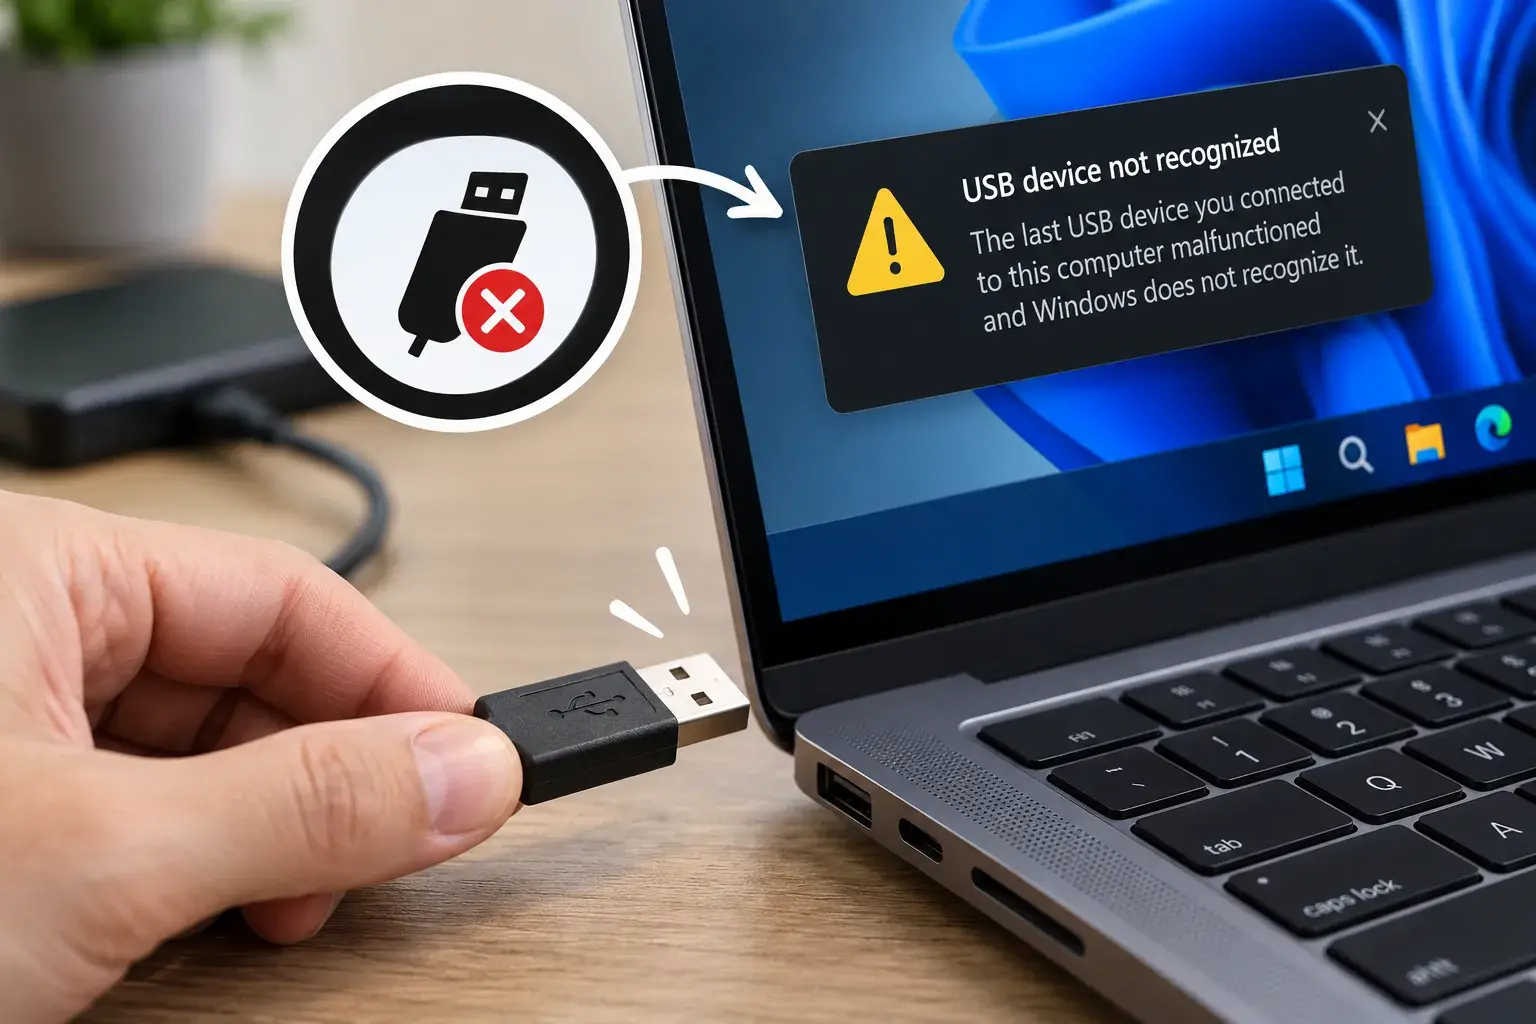
Repeated USB dropouts can stop a mouse, external drive, or camera mid-task, and they often look like a dead accessory. Before you replace anything, you can narrow down whether the fault sits with the device, the cable, the port, the hub, or a Windows setting. This guide walks you through isolation tests first, then software fixes, and tells you exactly when to stop and contact the manufacturer.
1. Restart Your Computer
Start here. A reboot rules out a temporary operating-system glitch or a stuck connection state. It takes less than a minute and costs nothing. If the disconnects return after the restart, move to the isolation tests.
2. Run the Two Isolation Tests
Perform these two checks before changing any settings. They create a practical diagnostic split that tells you where to look next.
| Test result | What it likely means |
|---|---|
| The device works in another port | Suspect the original port |
| A different device fails in the same port | Suspect the port itself |
| The device fails in every port | Suspect the device or its cable |
| A second device works fine in that port | Suspect the original device |
If the problem follows the device, skip ahead to cable inspection. If it stays with one port, focus on port cleaning and power settings.
3. Inspect the Cable and Connector
Look closely at the USB cable and both connectors. Check for looseness, bent pins, tears, or sharp bends. A visibly damaged cable should be replaced. Also inspect the device itself for signs of drops, moisture, or shock. Physical damage on the accessory side usually means repair or replacement, not a settings fix.
4. Clean the USB Port Safely
Debris inside the port can block a clean connection. Do this carefully:
- Shine a light into the port so you can see the contacts.
- Use a wooden toothpick to gently loosen debris.
- Use short bursts of canned air for stubborn particles.
- Do not insert metal tools, which can damage the contacts.
- If you see warped pins, stop and seek professional repair.
Never force anything into the port. Canned air should be used in short bursts only; prolonged spraying can drive debris deeper or damage components.
5. Remove Hubs and Prefer Rear Ports
If you are using a USB hub, connect the device directly to the computer to remove the hub from the equation. For power-hungry devices, use a powered hub that plugs into a wall outlet rather than drawing power from the computer.
On a desktop, connect long-term devices to the rear ports. These are wired directly to the motherboard, while front-panel ports run through additional cabling that can introduce interference or loose connections.
6. Adjust Windows USB Power Management (With Caution)
This should not be your first fix. Microsoft strongly recommends keeping USB selective suspend enabled because it improves power efficiency. Only disable it if your isolation tests point to a power-management issue.
1. Press `Win + X` and open Device Manager.
2. Expand Universal Serial Bus controllers.
3. Double-click each controller and open the Power Management tab.
4. Clear the check box for Allow the computer to turn off this device to save power, then click OK.
5. Type power plan in the Start menu and select Choose a power plan.
6. Click Change plan settings next to your active plan.
7. Select Change advanced power settings.
8. Expand USB settings.
9. Expand USB selective suspend setting.
10. Change the value to Disabled.
Repeat step 3 for each USB controller if the problem affects multiple devices.
7. Update or Reinstall the USB Driver
Open Device Manager, locate the affected device, and open its Driver tab. Select Update Driver and let Windows search for an updated version.
As an alternative for a problematic port, click Uninstall Device, then restart your computer. Windows will reinstall the driver automatically on reboot. This often clears corrupted driver states without requiring a download.
8. Identify the Correct Device Manager Entry
If you are unsure which entry in Device Manager matches which port or device, insert and remove the USB device while watching the Device Manager list. The entry that appears and disappears is the one you want.
You can also use the free USBDeview utility from Nirsoft to list connected USB devices. Do not disable the entry for your keyboard or mouse, or you may lose input control.
9. Check Capability and Power Mismatches
Not every USB port behaves the same way. Keep these limits in mind:
- Not every USB-C port supports video output.
- Some cables are charge-only and do not transfer data.
- A TV’s USB port may not supply enough power for a streaming stick.
- Routers, cars, TVs, and similar hosts may have approved accessories and power requirements listed in their manuals.
If you are plugging into a non-PC device, consult that device’s manual before assuming the port should work like a computer port.
10. Stop When the Evidence Points to Hardware
If an accessory fails on every tested port and on more than one computer, the problem is likely the accessory itself or a physically damaged port. At that point, contact the manufacturer for support. Warped ports, internal port damage, or a failed accessory generally require professional repair or replacement.
No single Windows setting is a universal cure for USB disconnects. The most reliable approach is isolation: confirm whether the problem follows the device, sticks to one port, or appears only with a particular cable or hub. Keep USB selective suspend enabled unless your tests specifically implicate power management, and accept that some failures are physical rather than software-related.